Essential Tips for Sealcoating Your Own Driveway
Sealcoating is one of the most effective methods to protect your driveway from weather, traffic and the ravages of time. Sealcoating not only extends the life of your asphalt driveway, but it also restores that shiny, new, black finish, which increases your property’s curb appeal. While sealcoating is a job best left to professionals, such as Productive Asphalt, many homeowners are opting for the DIY route. If you are in the process of sealcoating your own driveway, here are some tips to help you.
1. Pick the Right Time for Sealcoating
Timing is critical when it comes to sealcoating. The sealcoat needs certain weather conditions to properly set and dry. The best time to sealcoat is when the temperature consistently remains above 50°F, both during the day and overnight. Sealcoating in warm weather ensures that the sealcoat cures evenly. Another factor to consider is rain in the forecast. You’ll want to choose a day that is clear of rain for at least 24–48 hours.
The ideal seasons to sealcoat are spring, summer, and early fall. These times of year typically have the best weather conditions for sealcoating.
2. Prep Your Driveway Thoroughly
Preparation is the key to success for any sealcoating project. Be sure that your driveway is clean, dry and free of all debris before applying sealant. Here are some steps to properly prep the surface for sealcoating:
- Clean the Driveway: A power washer is the best way to remove dirt, oil stains and grime. Stubborn oil stains should be treated with a degreaser and scrubbed away.
- Fill Cracks and Holes: Sealcoating will not fill cracks in your driveway or fix potholes, so be sure to take care of those before starting your project. Asphalt crack filler is available for smaller cracks and patch kits are available for bigger potholes. Allow plenty of time for all repairs to fully cure before beginning.
- Trim Grass and Edges: Be sure to trim all grass and weeds around the edges of the driveway before beginning your sealcoating project.
Failure to complete these steps properly can result in poor application of the sealer, peeling and a shorter overall lifespan for your project.
3. Choose the Right Sealant
Not all sealcoats are created equal. Make sure you choose a high-quality, professional-grade sealant that is specifically formulated for asphalt driveways. Sealants come in two main varieties:
- Coal Tar Sealants: These are the most durable sealants and offer excellent resistance to oil, gas, and UV rays.
- Asphalt-Based Sealants: These sealants are more environmentally friendly and have less odor when applied.
Make sure to read the label to ensure the sealant is compatible with your driveway and will provide the level of protection you need.
4. Use the Proper Tools
For an even, professional-looking sealcoat application, using the right tools is important. Some of the necessary tools should come with most DIY sealcoating kits, but you may need to buy or rent additional tools. Here’s a list of must-haves:
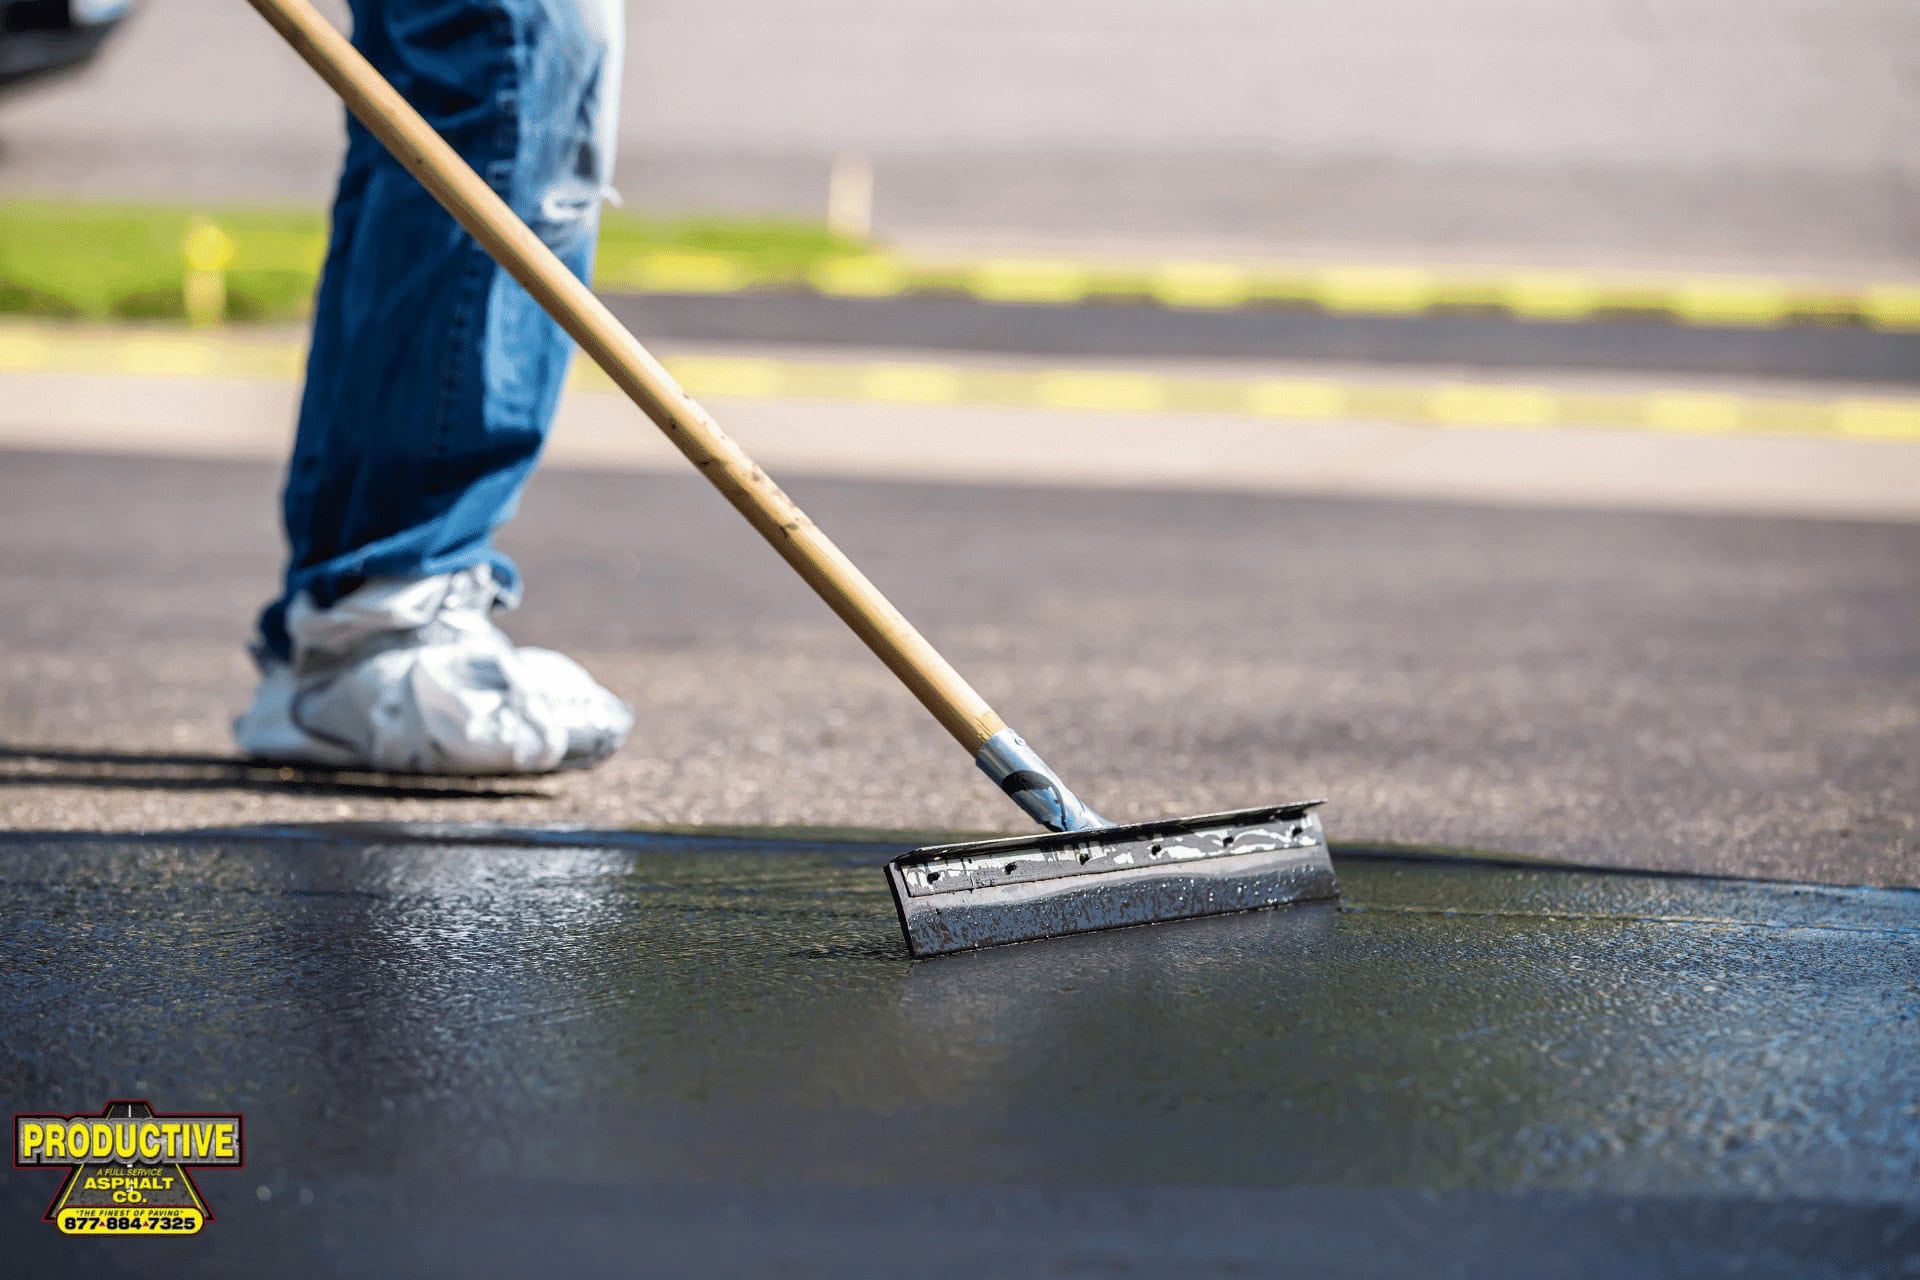
- A squeegee or brush applicator for spreading the sealant.
- A bucket opener for conveniently opening the sealant container.
- A stirring stick for mixing the sealant thoroughly before application.
- Painter’s tape or protective sheeting to mask off edges and keep sealant from splashing onto unwanted areas.
When you have the right tools, the job will go faster, be easier to do, and look more professional.
5. Apply the Sealant Correctly
So your driveway is clean, prepped, you have the correct tools, now it is time to apply the sealant. Below we will go over the best method to apply your sealant to your driveway. Read and follow the steps below:
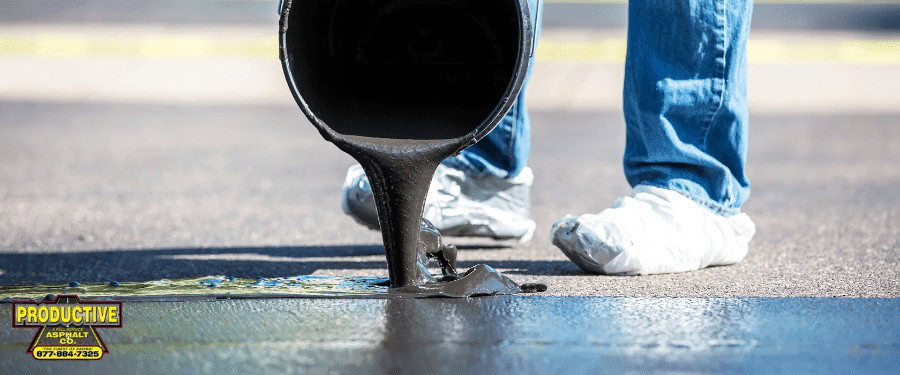
Don’t Overdo it: Do not over apply the sealant. Too much will peel and crack when it dries. Aim for a thin even layer.
Start at the Edges: Apply the sealant on the edges of the driveway using a brush. This will help with more accurate application and keeping the sealant off of grass, sidewalks, and curbs.
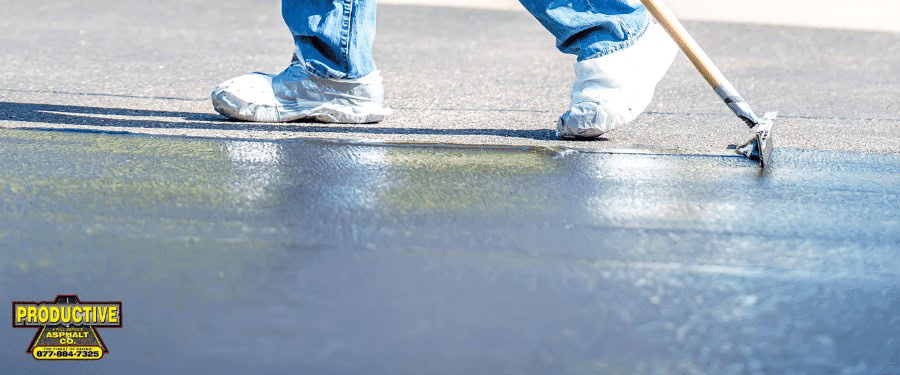
Work in Small Sections: Pour your sealant in small sections and smooth over with your squeegee or brush. Use long even strokes.
Overlap: Slightly overlap each stroke.
6. Allow Proper Drying Time After Sealcoating
After you’ve applied your sealcoat, make sure to give it adequate time to dry before using your driveway again. Allow 24–48 hours for your sealcoat to dry, as most coatings require this length of time to completely cure. If you try to use your driveway before it has dried, you’ll have to start all over again.
Close off your driveway with caution signs or cones to keep people and vehicles from accidentally using it.
7. Know When to Call the Pros
Sealcoating can be a fun and rewarding DIY project. However, if your driveway is severely damaged, poorly graded or hasn’t been taken care of in years, it’s best to contact the professionals.
Why Sealcoating Matters
Sealcoating is the easiest way to help protect your asphalt pavement from water, sunlight (UV), oil spills, and regular wear-and-tear. Sealcoating will not only prolong the life of your asphalt surface by many years but will also save you money in major repairs and replacements.
Conclusion
Sealcoating your own driveway can be a satisfying DIY project if done correctly. By choosing the right time, preparing the surface, and using high-quality materials, you can achieve a professional-looking finish that protects your asphalt for years to come. However, if you’re unsure or prefer to leave it to the experts, Productive Asphalt is always here to help.
Contact us today for professional sealcoating services and let us handle the hard work while you enjoy a durable, polished driveway that boosts your home’s curb appeal.