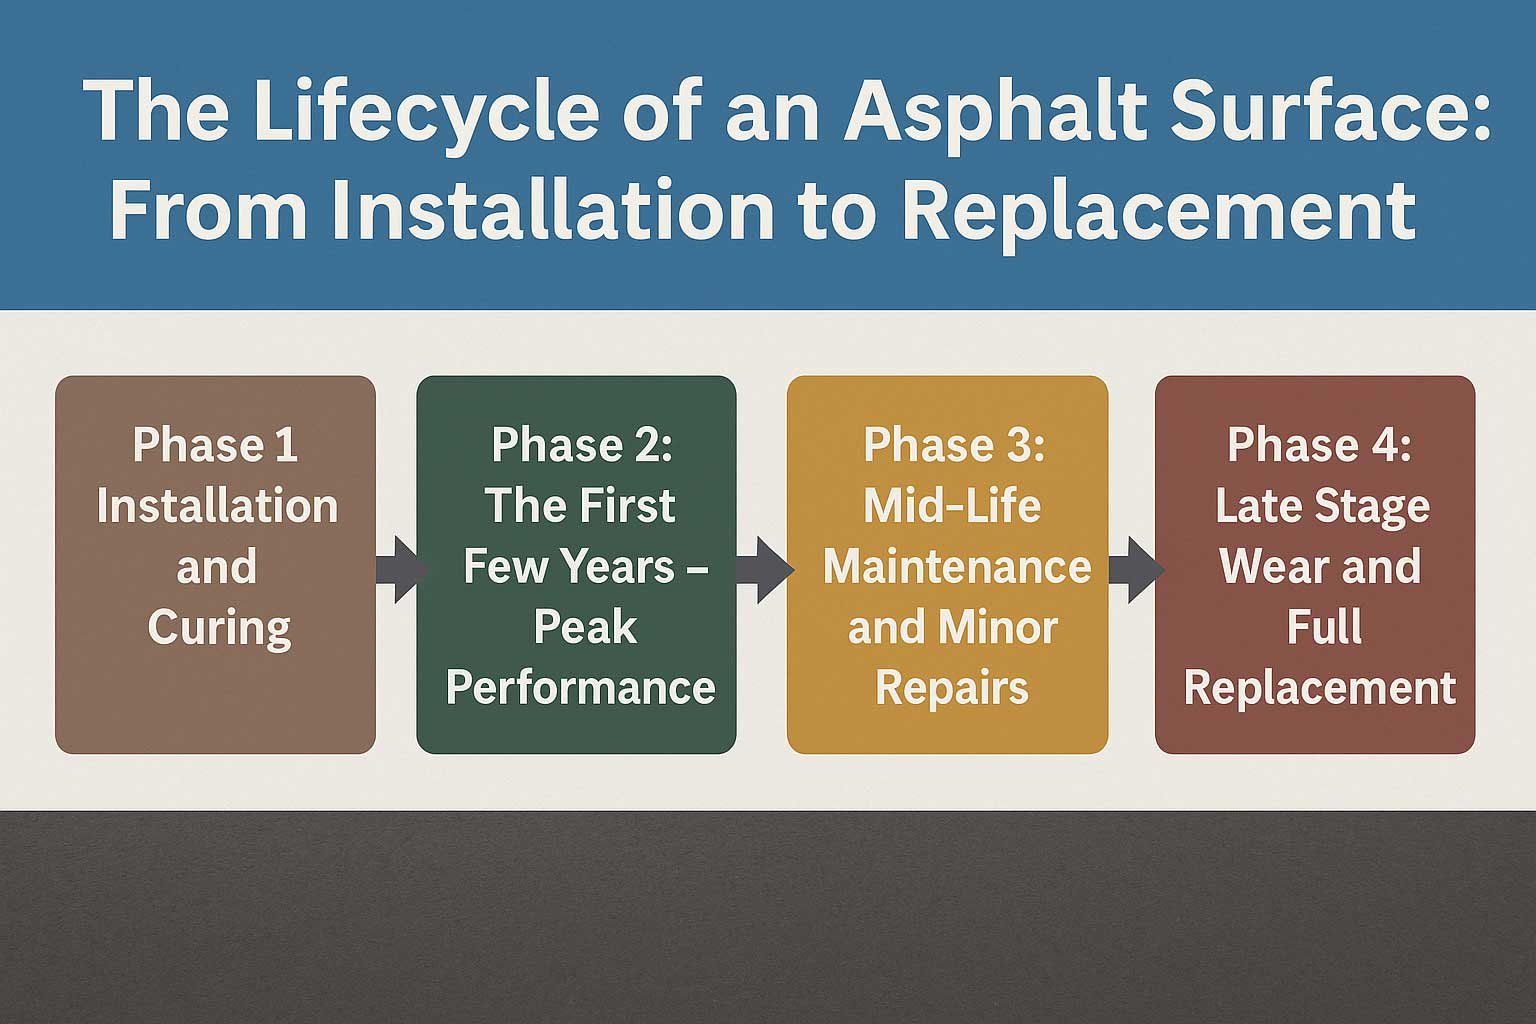
The Lifecycle of an Asphalt Surface: From Installation to Replacement
The Long Game of Asphalt
Asphalt is a popular choice for driveways, roads and parking lots, because it’s affordable, durable, and smooth. However, even the highest-quality asphalt surfaces don’t last forever. Asphalt, like all construction materials, has a lifecycle. From installation and curing to use and eventual deterioration, understanding each stage of the asphalt lifecycle will help you make informed decisions about when to install new pavement and when to engage in routine maintenance, replacement, or resurfacing. This guide will take you through each primary phase of an asphalt surface’s lifecycle.
Phase 1: Installation and Curing
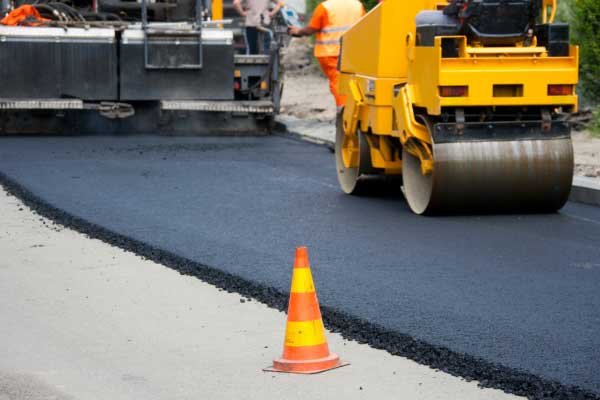
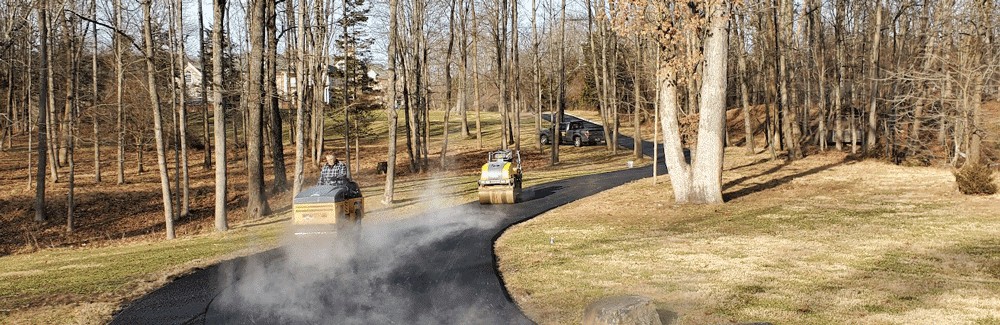
The first stage of the lifecycle is the installation of the asphalt. This includes site prep, grading for drainage, installing a strong aggregate base, and the application of hot mix asphalt. Following application, the asphalt is then compacted while still hot to create a smooth, level surface. Following installation, there is a curing period. The surface can often be used within 24 to 48 hours, but can take up to 12 months to fully cure. During this period, the asphalt is still hardening as oils continue to evaporate and the surface settles.
Phase 2: The First Few Years – Peak Performance
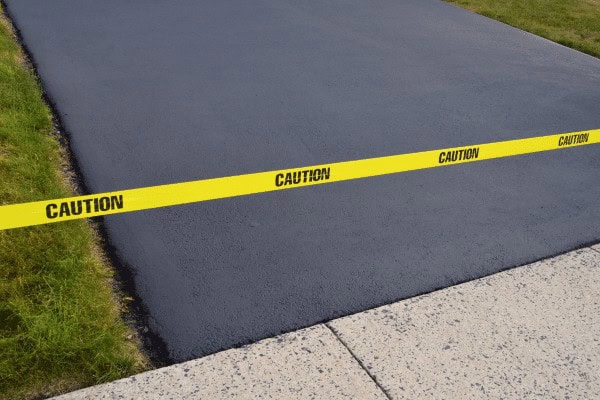
Asphalt has now entered its prime time of life once it’s fully cured. The pavement will stay pliable and spring back during the first 3 to 5 years. It can take a lot of abuse and usage with little sign of wear and tear. You may only need to perform preventative maintenance (light sealcoating or inspections) at this time. The surface is still very dark and retains a smooth top. Even though the surface looks pristine, UV rays, water infiltration, and traffic vehicles are causing microscopic changes in the asphalt’s composition.

Phase 3: Mid-Life Maintenance and Minor Repairs
Years 5-10: Early Aging. The asphalt begins to age and fade due to oxidation from the sun’s UV rays. Small cracks on the surface may form due to thermal expansion and contraction. Small potholes may appear, especially in high-traffic areas or where water doesn’t drain well. Time to take action. Crack filling, patching, and sealcoating every few years will extend the life of the asphalt. Prevent water infiltration and surface reinforcement at this point can prevent more costly damage later.
Phase 4: Late Stage Wear and Full Replacement
The symptoms of asphalt degradation are more obvious when it is 15-20 years old. Deep cracks, large potholes, alligator cracking and uneven surfaces are indications that the base is likely to be compromised. It is not cost-effective to continue patching asphalt at this point. It is time for full resurfacing or replacement. Resurfacing means taking off the top layer and applying new asphalt. Full-depth reconstruction is needed if the sub-base is also deteriorated. Understanding when to replace and when to repair can prevent structural problems and safety hazards.
Conclusion: A Smart Approach to Asphalt Longevity
Asphalt surfaces have a finite lifespan that can be managed and maximized with the right approach and knowledge. The lifecycle of an asphalt surface, when properly timed and managed, can result in significant cost savings and less headache for a property owner. From installation, to the early and middle use, to potential mid-life maintenance, and to the final act of repair or replacement, each stage of the lifecycle of an asphalt surface offers a chance to optimize value and extend the life of the surface. Planning and executing each stage of this lifecycle for a residential or commercial project like a driveway, parking lot, or highway can help property owners and managers make the most of their asphalt investments. Partnering with a professional paving contractor throughout these stages is the best way to ensure that every part of the lifecycle of an asphalt surface is completed correctly.